How to Combine Fabric Scraps
Do you need a larger piece of fabric for your quilt? Combine your scraps to make larger pieces!
BEGINNER QUILTING TIPS
11/9/20243 min read
How to Combine Fabric Scraps
Are you looking for a creative way to use up fabric scraps and add a unique touch to your quilts?
Combining fabric scraps into larger pieces is a fun & sustainable way to make beautiful, one-of-a-kind quilt blocks. In this tutorial, I will guide you through the entire process to help you turn even the smallest bits of fabric into something beautiful. I have included is an example from my newest quilt pattern. Let's dive in and transform those scraps into something beautiful!


Preparing Your Scraps
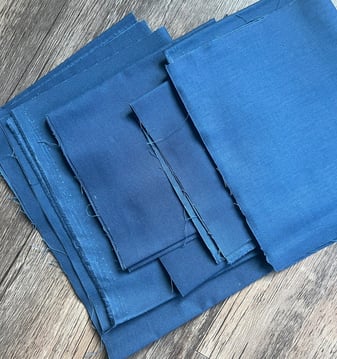
The first step in combining fabric scraps is to prepare them with a bit of starch and a good press with a hot iron! This step ensures accurate measuring.
Step One
Step Two
Once your scraps are starched and ironed, use a quilting ruler to measure each piece. Aim for straight edges (you may need to trim the pieces!), so your scraps fit together more easily.
Combining Fabric Scraps
Once you have measured your scraps, determine how they best fit together. Don't forget to account for your desired seam allowance!
Step Three
Step Four
Stitch your scraps together & then press the seams open. Use a small stitch length to ensure there are not gaps in the seam. I usually sew with a 2mm stitch length!
Using the Combined Fabric Scraps
Use a quilting ruler to cut the pieces you need for your quilt top!
Step Five
Happy Quilting!
An Example from My Quilt Studio
Step One - Prepping Fabric Scraps
I needed 11 inch squares for a my newest pattern - RIVER RAPIDS. I decided to combine fabric scraps from my stash to save money and be environmentally friendly. Let's take a look at this example!
Step Two - Measuring Fabric Scraps
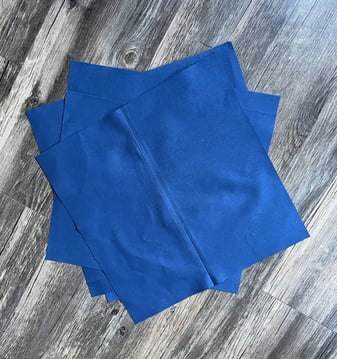
I prepped my fabric with starch and a good press with a hot iron!
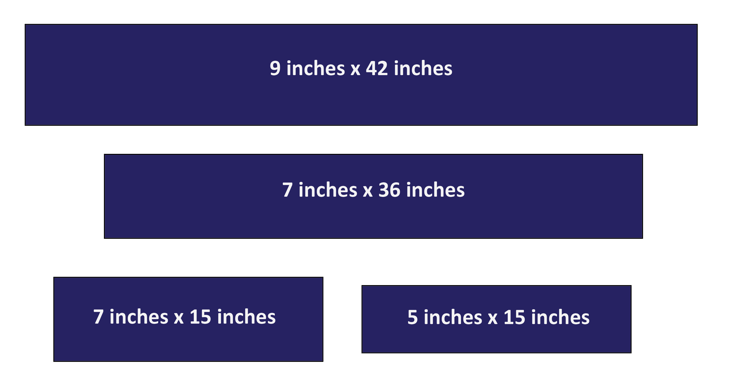
I had 4 pieces of fabric that I measured for this project.
Piece (A) - 9 inches by 42 inches
Piece (B) - 7 inches by 36 inches
Piece (C) - 7 inches by 15 inches
Piece (D) - 5 inches by 15 inches

Step Three - Quilt Math
I decided to combine Piece (A) with Piece (B) to create 3 squares.
Piece (C) and Piece (D) were combined for 1 square.
Step Four - Combine Fabric Scraps
Place fabric scraps right sides together. Stitch pieces together with a short stitch length. Press seams open!
The image shows Piece (A) with Piece (B). The white dashed line is where I stitched the two pieces together.


Step Five - Cut Pieces
I needed 11 inch squares for my quilt so I used a quilting ruler and was able to get three squares from Piece (A) and Piece (B) after combining fabric scraps!
The image shows the stitch line in white. The 11 inch squares were in teal outlined in orange.


What does this actually look like? Can you spot the seams?
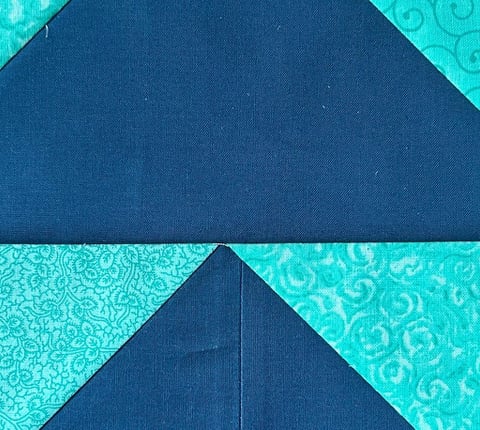

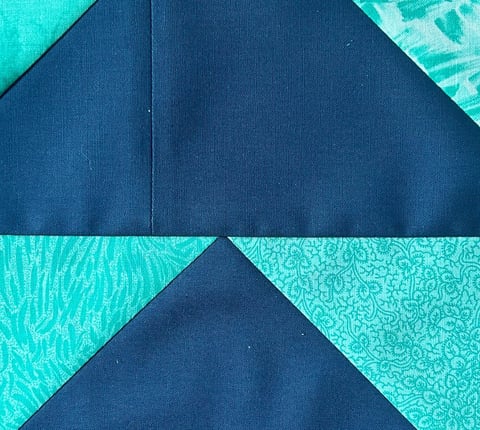

Combining fabric scraps into larger pieces is a fantastic way to give new life to leftover fabrics and create a truly unique quilt design. I hope this tutorial has inspired you to dive into your own scrap pile and experiment with combining fabric scraps for your next quilting project!
Happy Quilting!
Adventures Through Fabric
Explore modern patterns designed for scrappy quilting.
© 2024. All rights reserved.
